Wednesday, March 31, 2021

Not Much

 Not Much

       Not much drawing done.  I've been working through my sewing pile.  I can see the bottom of the sewing tub.


Tuesday, March 30, 2021

Funny

 Funny

     I have to laugh, every time I see daisies for sale.  Especially, at the farmers market.  They grow, wild, everywhere.  


Monday, March 29, 2021

Dent

 Dent

     I was hoping, sewing all of the cases would put a big dent into my sewing stash....guess not.  Doesn't look like I scratched the surface.


Thursday, March 25, 2021

Wednesday, March 24, 2021

Sewing

 Sewing

     I finally finished sewing all of my cut-out pieces of fabric.  I had a large dish pan with tatting cases and thread cans.  Plus, a skirt and a few place settings.  Nice to have it all sewn.


Tuesday, March 23, 2021

Birthdays

 Birthdays

     I had made these bunnies, last month.  I filled them with a few trinkets and gave them as birthday presents for my niece and sister.  This way they can display the bunnies during the Easter season.  


Monday, March 22, 2021

Table

 Table

     I had a few masks cut out, on my sewing table.  Finally, getting around to sewing them.


Friday, March 19, 2021

Bulky

 Bulky

     Two of the cases were too bulky to sell, so I'll keep these.  The fabric was upholstery fabric.


Thursday, March 18, 2021

Mine

 Mine

    I made a few more dinosaur cases for myself.  My dinosaur shuttle needed its own case.  The black and white cases glow in the dark.


Wednesday, March 17, 2021

Tuesday, March 16, 2021

Cases

 Cases

     Farmer's Market is starting up then end of April.  Time to start getting ready for it.  This month I'm working on tatting cases.  I have a wash tub, full of the cases cut out and ready to sew.  Here are a few of them.


Monday, March 15, 2021

Trip

 Trip

     We went on a little fishing trip.  I brought along my souvenir, sketch book to work on during the evening.  I'm on the last page of the book, drawing a couple of fly amanitas. 


Thursday, March 11, 2021

Art

 Art

      Some of my art work...colored pencil, watercolor, oil, pastel, marker and watercolor pencil.


Wednesday, March 10, 2021

Study

 Study

     We went on a two day fishing trip, so I was able to try our my new retro-fitted art box.  I had gotten a book by Leonardo and drew the chrome sphere.  I enjoy watching his videos.  He always says, "Excellent" and "very good."


Tuesday, March 9, 2021

Eyes, Nose...

 Eyes, Nose...

     Finished the eyes, nose and inside of the cats eyes.  


Monday, March 8, 2021

Friday, March 5, 2021

Lesson

 Lesson

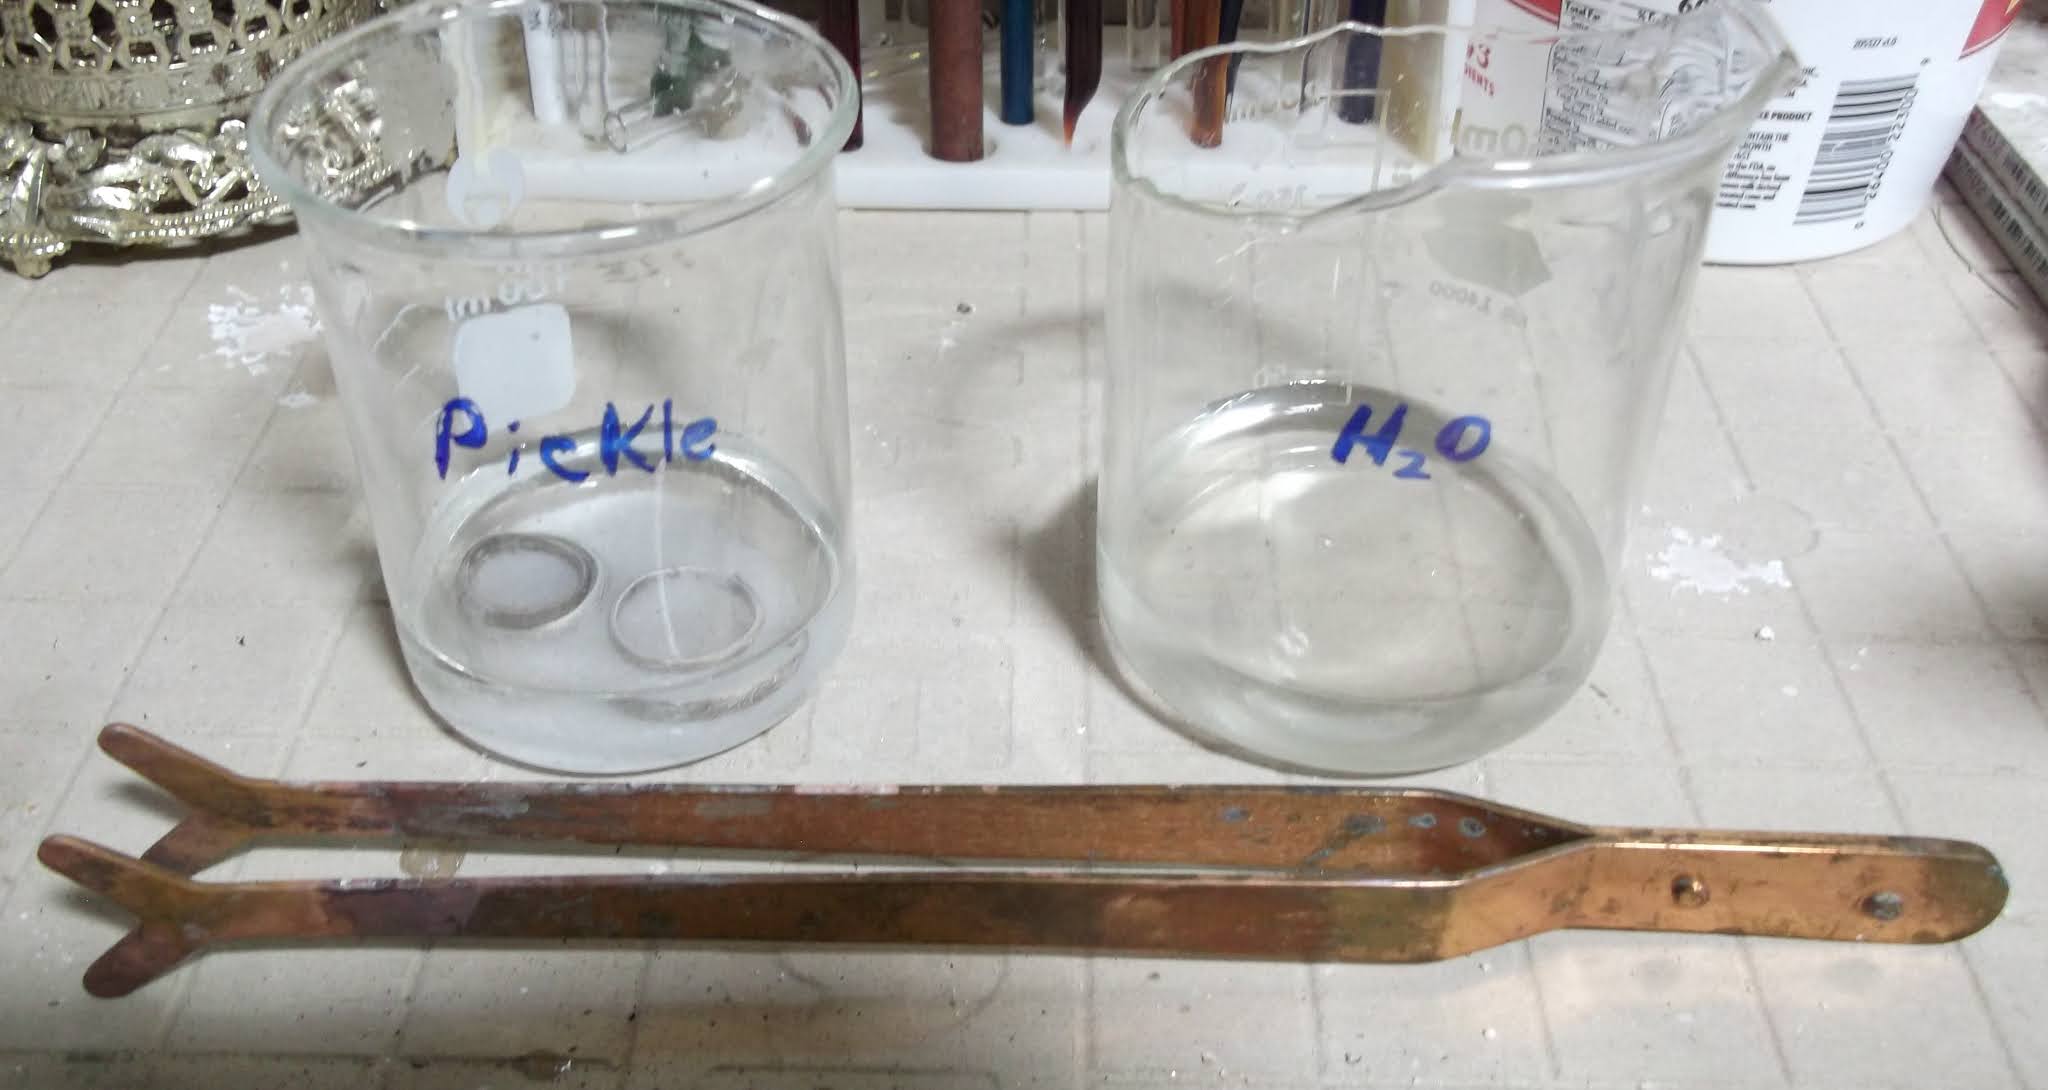
     Here is an easy silversmithing lesson on making a simple ring.  I purchased my sterling silver at Thunderbird Supply Company.  You can use pattern wire or 10 ga - plain wire.  Use 1/2 - round sterling silver wire and easy flow, silver solder to solder it together.  I buy my silver in ounces, instead of inches.

Supplies:

10ga - sterling silver plain wire or  sterling silver pattern wire

Easy flow silver solder  

Butane Torch and Butane

Handy Flux

Solder block

2 - Glass jars

Safety Goggles

Dusk Mask (optinial) 

Disposable craft brush

Tweezers

Copper tongs

2 - glass jars

Distilled water

Dremel or other rotary tool

Flat file

Round nose and flat pliers (the ones without teeth)

Ring mandrel

Sharpie

Small paint brush for the flux

Rubber mallet

Bits:  cut-off wheel, diamond bits (flat and skinny cylinder), rubber polishing bits, felt polishing cone

Pickle (sodium bisulfate:  pH down for swimming poles)

Black, wet/dry 350 grit sand paper

Bleach (optional)

Jewelers rouge


Find your ring size, using a ring sizer.  Wrap the silver wire, around a ring mandrel and mark the silver at the ring size, using a sharpie.


Don, your safety goggles and face mask (optional).  If possible, hold your Dremel in your left hand.  This will cause, most, of the debris to fall towards the ground and not your face.


Using a cut-off wheel, cut the wire a little longer that the mark.


Using a diamond bit or a jewelers, hand file, file the ends smooth and flush to the mark or a little smaller. 
(Don't worry if the wire is a little smaller than the what you measured.  At the end the ring will be pounded round, causing the ring to get a little larger.)
  When the ends are held together, there should not be any light shinning through...solder does NOT fill GAPS!!


     Wrap the silver around the ring mandrel and check the size.  Using a pliers, flatten one side. This is what the ring should look like.  The ends should be a tight fit.  You may need to wiggle the silver ends back-and-forth, until the ends meet tightly.  


Set up for soldering:  flat file, Handy Flux, paint brush, small pieces of clean solder, small tweezers.  


Also set up a glass container with your pickling solution, and anther jar with distilled water and copper tongs.


Using your brush, brush on a small amount of flux to the joint.  Using the tweezers, add a small piece of solder to the joint.


Refill the torch with this instead of the cigarette lighter butane.  This is far, cheaper.  I bought this at Home Depot.


     Place the ring on the soldering block.  Slowly, start adding heat to the ring, using a sweeping motion.  Do this until the flux is dries.  Once the flux dries, concentrate the heat at the joint.  
(Don't over heat your ring.  The ring will turn red then melt.) 
If your solder did not flow, either the ends weren't flush or the solder/flux was dirty.   Once the solder flows, turn off the torch. 


 Using the copper tongs, ONLY, place the ring in the pickling solution for a few seconds.  Using the copper tongs, ONLY, place the ring in the distilled water then remove and dry off.


  Using your fingers, try to separate the seam.  If the seam does not budge, you have a good soldered seam.  If it breaks loose, re-file the edges and solder again.


Place the ring on the ring mandrel and hammer it round with a rubber mallet.  If the ring is too small, keep hammering until the ring enlarges to the size.  If too big, give the ring as a gift and try again...practice makes perfect.


Using a sharpie, mark the outside edge of the ring.


Using the wet/dry sandpaper, sand the edges flush.  The sharpie ink will disappear when  the edges are even.


Using a diamond bit (top bit) remove the solder from the inside of the ring and carefully remove any from the face of the ring.  Using the rubber polishing point (bottom bit) remove any scratches.  


Using these bits, may reduce your nails down to the finger tips.  Just, part of the job.  


Using a polishing buff and jewelers rough, polish the ring.  You may want to wear a pair of nitrile gloves to keep your hands cleaner...especially if you are going to tat, later that day.


Clean the polish compound off with a household cleaner.  If you want a patina on the ring (blacking the grooves), you can put the ring in a little bleach for a few seconds.  At this point the whole ring will be blackened.  Don't worry, re-polish the blackened part off.  Polish, lightly over the grove work, so the patina remains in the groves.

Now, wear your ring proudly.  I wear mine as an everyday wedding band.